7 Tips for Repotting and Transplanting Indoor House Plants
The Plant Doctor is a big nerd who loves sharing the art of indoor plant care. Greenery is not only beautiful, but extremely good for our health and wellbeing. These blog posts are passionately written to help people learn more about plants.
If the blog below inspires you to learn even more, you can choose the way you like most: you can read more indoor plant blogs (click here), join a weekend workshop (click here), have your own private workshop (click here) or watch online videos (click here).
Now let’s get started!
Transplanting indoor plants, also known as repotting, is an essential part of their care routine, allowing them to grow and thrive as they outgrow their current containers. Whether you're repotting to provide more space for the roots, refresh the soil, or simply upgrade the plant's appearance, transplanting should be done with care to ensure a successful transition.
In this blog post, we'll explore the key steps and tips for transplanting indoor plants, ensuring they continue to flourish in their new homes.
Sometimes, if you have a few plants to do, it’s easier to repot/transplant all your plant babies in one session. Unless you are like The Plant Doctor and you have over 500 plants!
Choose the Right Time
The best time to transplant indoor plants is during their active growing season, typically in the spring or early summer. This is when they are most likely to recover quickly from the stress of repotting and establish themselves in their new containers.
Once a plant’s roots have gone through the drainage holes, it can be very hard to get the plant our without damaging these roots. So if you can, repot your plants before they get to this stage.
2. Select the Proper Pot
When choosing a new pot for your plant, opt for one that is slightly larger than the current one. Ensure that the new pot has drainage holes to prevent waterlogged soil, which can lead to root rot. Additionally, consider the material of the pot - terracotta and ceramic pots are breathable and allow for better air circulation, while plastic pots retain moisture.


There are SO many different types of pots! Check out the ‘Choosing the Perfect Fit’ blog post, for The Plant Doctor’s info on different pot types!
3. Prepare the Plant
Before transplanting, let the soil dry out.. Moist soil makes trickier to remove the plant from its current pot without causing damage to the roots. Gently loosen the root ball with your fingers, if necessary, to ensure the roots can spread out in the new container.
This soil is awful! If your soil looks like this, it’s time to repot!
4. Handle with Care
Carefully lift the plant from its current pot, supporting the base of the plant and avoiding pulling it out by the stem. Handle the plant gently to prevent breaking or damaging the roots.
See how this person is holding the plant upside down and could possibly drop it on its stems and damage it? Don’t do this! Lay your plant down and roll the pot back and forth to get the roots off the sides, and your lil plant will slip out easily.
6. Add Fresh Potting Mix
Place a layer of fresh, well-draining potting mix at the bottom of the new pot. Position the plant in the center and fill in the sides with additional potting mix, ensuring the top of the root ball is level with the rim of the new pot. For more repotting details come to one of The Plant Doctor’s Indoor House Plants 101 workshops, of check out our online videos.
See how this person is cutting off roots? Don’t do this. Unless it’s a bonsai.
6. Water and Adjust
After transplanting, give the plant a thorough watering to help settle the soil around the roots. If needed, adjust the plant's position in the pot to ensure it stands upright.
This person has decided to propagate/split their Lillies during repot/transplant time. Good option if you want more plants!
7. Post-Transplant Care
Place the newly transplanted plant in an area with appropriate light conditions for its species. Avoid placing it in direct sunlight immediately after transplanting, as this can cause additional stress to the plant.
This poor snake plant is ssooooooooooooooooo ready for a repot/transplant.
Transplanting/repotting indoor plants is an important aspect of their care that should be approached with patience and attention to detail. By choosing the right time, pot, and potting mix, and handling the plant with care, you can ensure a smooth and successful transition for your green companion. Properly transplanted indoor plants will have the opportunity to grow and flourish, rewarding you with their beauty and health in return. So, embrace the process of transplanting, and watch your indoor garden thrive as your plants settle into their new homes!|
Happy gardening!
Want to learn more about indoor house plants?
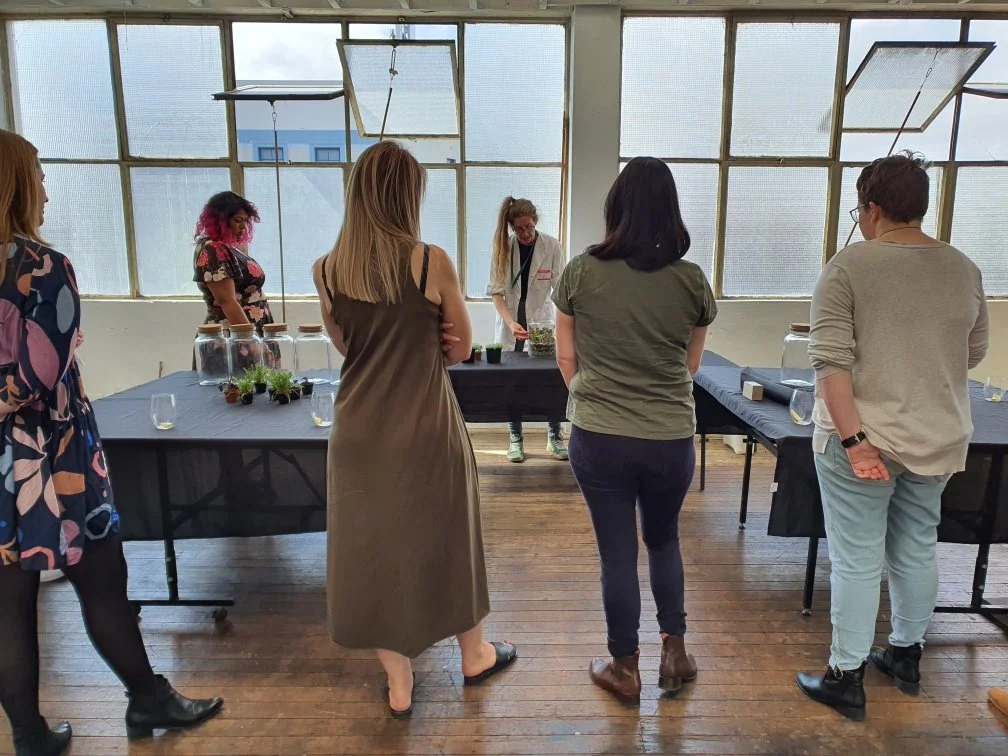
Join A Weekend Workshop

Read Blog Posts

Have Your Own Private Workshop

Make it stand out
Whatever it is, the way you tell your story online can make all the difference.